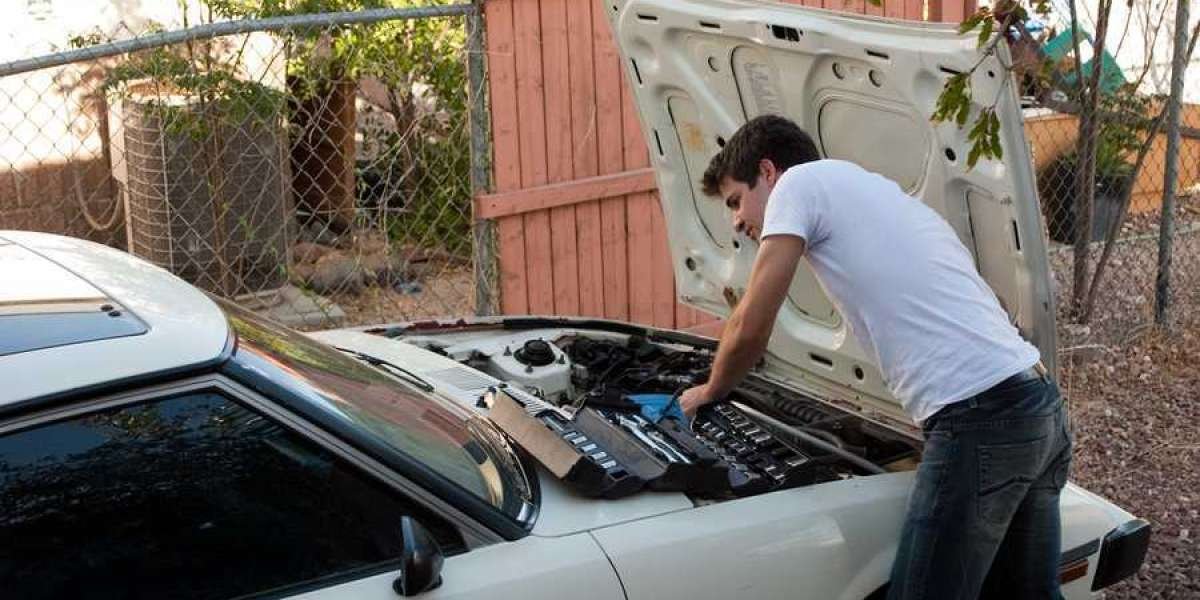
Owning a car comes with the responsibility of maintenance and occasional repairs. While some issues require professional mechanics, many common car problems can be fixed at home with basic tools and a little know-how. Performing car repairs at home can save you money, give you a better understanding of your vehicle, and help you avoid unnecessary trips to the repair shop.
In this guide, we’ll cover essential tools, safety precautions, and step-by-step instructions for common DIY car repairs.
1. Essential Tools for DIY Car Repairs
Before starting any repair, make sure you have the right tools. Here’s a basic toolkit for at-home car repairs:
Basic Hand Tools:
Wrenches (combination, adjustable, socket set)
Screwdrivers (flathead and Phillips)
Pliers (needle-nose, slip-joint, and locking)
Hammer (rubber mallet for delicate parts)
Pry bar
Jack and jack stands (for lifting the car safely)
Specialty Tools (Optional but Helpful):
Oil filter wrench
Spark plug socket
OBD-II scanner (for diagnosing check engine lights)
Battery tester/charger
Brake bleeder kit
Safety Gear:
Gloves
Safety glasses
Wheel chocks
2. Safety Precautions Before Starting Repairs
Working on a car can be dangerous if proper precautions aren’t taken. Follow these safety tips:
Park on a Flat Surface – Ensure the car is on level ground before lifting it.
Use Jack Stands – Never rely solely on a jack; always support the car with jack stands.
Disconnect the Battery – When working on electrical components, disconnect the negative terminal.
Wear Protective Gear – Gloves and safety glasses prevent injuries from sharp edges or chemicals.
Work in a Well-Ventilated Area – Avoid carbon monoxide buildup when running the engine indoors.
3. Common Car Repairs You Can Do at Home
1. Changing Engine Oil
Regular oil changes keep your engine running smoothly. Here’s how to do it yourself:
Steps:
Warm Up the Engine – Run the car for a few minutes to thin the oil.
Lift the Car – Use a jack and jack stands to access the oil pan.
Drain Old Oil – Place a drain pan under the oil plug, remove the plug, and let the oil drain completely.
Replace Oil Filter – Unscrew the old filter, lubricate the new filter’s gasket, and install it.
Refill with New Oil – Pour the recommended oil type and amount into the engine.
Check for Leaks – Start the engine, let it run briefly, then check under the car for leaks.
Recommended Oil Change Interval: Every 3,000–5,000 miles (check your owner’s manual).
2. Replacing Air Filters
A clogged air filter reduces fuel efficiency and engine performance.
Steps:
Locate the Air Filter Housing – Usually a black plastic box near the engine.
Remove the Old Filter – Unclip or unscrew the housing and take out the old filter.
Install the New Filter – Insert the new filter in the correct orientation.
Reassemble the Housing – Secure the clips or screws.
Recommended Replacement Interval: Every 12,000–15,000 miles.
3. Changing Spark Plugs
Faulty spark plugs can cause misfires and poor fuel economy.
Steps:
Disconnect the Battery – For safety.
Remove Spark Plug Wires/Coils – Carefully pull them off.
Use a Spark Plug Socket – Unscrew the old plugs.
Install New Plugs – Hand-tighten first, then use a torque wrench for the correct tightness.
Reconnect Wires/Coils – Ensure they’re seated properly.
Recommended Replacement Interval: Every 30,000–100,000 miles (depends on plug type).
4. Replacing Brake Pads
Worn brake pads reduce stopping power and can damage rotors.
Steps:
Lift the Car Remove Wheels – Use jack stands for safety.
Remove Caliper Bolts – Slide the caliper off the rotor.
Swap Old Pads for New Ones – Compress the caliper piston if needed.
Reassemble Test Brakes – Before driving, pump the brakes to ensure proper pressure.
Recommended Replacement Interval: Every 25,000–70,000 miles (depends on driving habits).
5. Jump-Starting a Dead Battery
A dead battery can leave you stranded, but jump-starting is simple.
Steps:
Connect Jumper Cables Properly:
Red (+) to dead battery’s positive terminal.
Other red (+) to donor battery’s positive terminal.
Black (-) to donor battery’s negative terminal.
Final black (-) to an unpainted metal part of the dead car (ground).
Start the Donor Car – Let it run for a few minutes.
Start the Dead Car – If it starts, let it run to recharge the battery.
Tip: If the battery dies frequently, check for alternator issues or consider replacing it.
4. When to Call a Professional
While many repairs can be done at home, some require expert attention:
Transmission Issues – Complex and require special tools.
Advanced Electrical Problems – Diagnosing wiring issues can be tricky.
Airbag or ABS Repairs – Safety systems should be handled by professionals.
5. Final Tips for Successful DIY Car Repairs
Consult Your Owner’s Manual – Always follow manufacturer guidelines.
Watch Tutorial Videos – Visual guides can help clarify steps.
Keep a Repair Log – Track maintenance and repairs for future reference.
Conclusion
Performing car repairs at home is a rewarding skill that saves money and keeps your vehicle in top shape. Start with simple tasks like oil changes and air filter replacements before tackling more complex jobs. With the right tools, safety precautions, and patience, you can handle many common car repairs yourself.


